
Pushing Pushers
- Market Coordinator

- Oct 16, 2018
- 3 min read
Since it's been a while, I thought it would be a nice time to dive back into one of those posts where I go into detail about a part or tool and maybe learn something in the process. I actually really enjoy doing these types of posts as someone with no background in any of this stuff for that precise reason - whatever I've learned in my ten-plus months here, putting these things together has definitely been a decent-sized part of that.
Something I really love about a lot of pump tools we offer is that they're designed for one very specific purpose that's just a small piece of the overall pump assembly and maintenance puzzle, but they all do that purpose very, very well. We've already talked about seat pullers, another pretty good example of what I'm saying.
With that in mind, this might not be a very long post. But that's okay, our average time on site this month is 58 seconds, you guys are here for a good time, not a long time. So let's get into it. We're talking plunger pushers today.

It's a pretty simple tool, as mentioned, with only a couple pieces to it and the laser-focused mission of getting a plunger securely into a pump. Obviously, the biggest part is the head at the bottom.

That head is threaded and sized very specifically, because...

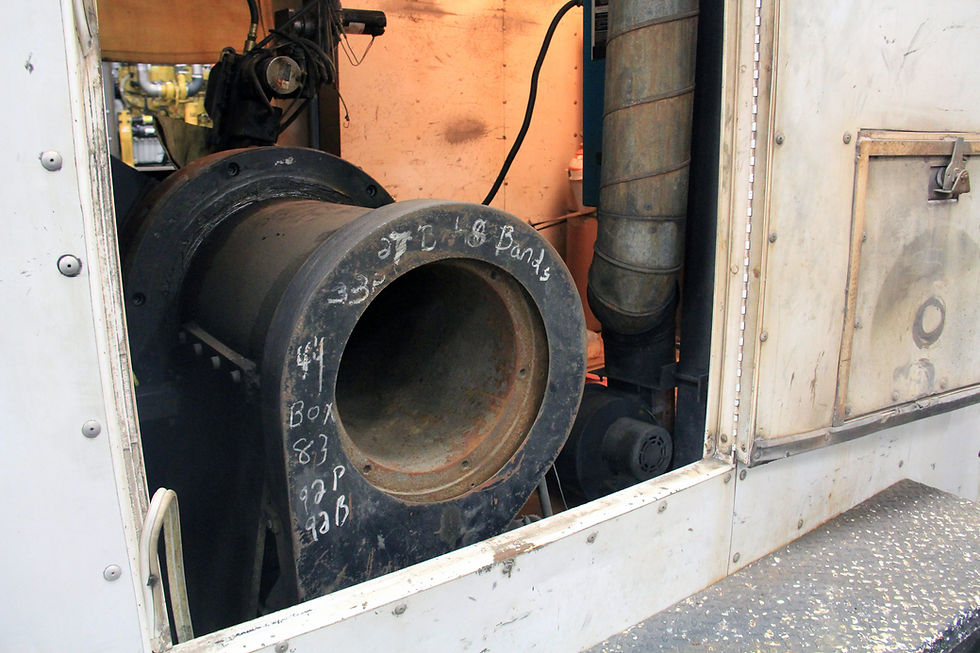
...whoa, crazy. I mean I figured out what those things were before now, I promise, but I didn't know for a while. I was kind of disappointed when they didn't go in and out the first time I watched a truck get tested. But anyway, as this gorgeous fluid end in our shop shows, there's an appropriately-sized porthole for each plunger in the plunger pump.
I'll assume you know where this is going because you're all intelligent people, but the head screws into the hole. There are actually good reasons to go to this length just to, essentially, stabilize the tool. When you're installing a plunger, it's absolutely crucial to keep the thing centered, otherwise you might damage the packing around it. And, as you can imagine, even the most oiled of well-oiled machines won't work as well as it's supposed to if the parts aren't assembled with precision.
Of course, that's just phase one. Here's the tool again, on its side.

There's a big threaded rod, with a hex-shaped knob on top. I bet if you twist it, something happens.

Oh hey, look at that! It's almost like the thing called a pusher has a mechanism for pushing. For a while, I was kind of confused by that little nub in the middle of the disc (I'm sure these things all have actual names, we'll get there), until I went and studied some pumps as part of my research for this post. Yes, I do research to produce this very basic explanation, as sad as that is.

Okay, that's not as nice as the black one above, sorry. I had to find one lying around that was cracked open, obviously. We're working on it, it's in process. But, point being, the nub-hole system is just another way to ensure stability and a perfect installation.
Let's put all of this together in a video that I didn't make, since I'm not about to shut down the pump shop just to produce a brief tutorial on the subject.
davejaguar66 on YouTube may have invented these types of tools in 2014, I can't verify or disprove that, but I'd like to think we perfected it - even he admits (at 1:20) that his rod is too long and bends, jeopardizing that whole straight installation thing. Ours is nice and compact, as you can see, while still delivering the needed torque. A few twists later, and there you have it, a pushed plunger.
I really hope that if you learned something from this post... someone else is doing your pump work for you. But I'll leave you with the main takeaways I hope you got out of it, regardless of your expertise level: we have plunger pushers, they're really nifty little tools that do a specific job well, they can help your pump maintenance be a more painless and efficient process, and you should contact us right this second to buy a bunch of them.
Happy pushing!


Comments